Archive
Blog Archives

Entering Feeding Status

Entering Feeding Status

1.
From the bottom of the Meal Pattern screen, click on the Feeding Status/Chewing Ability tab.
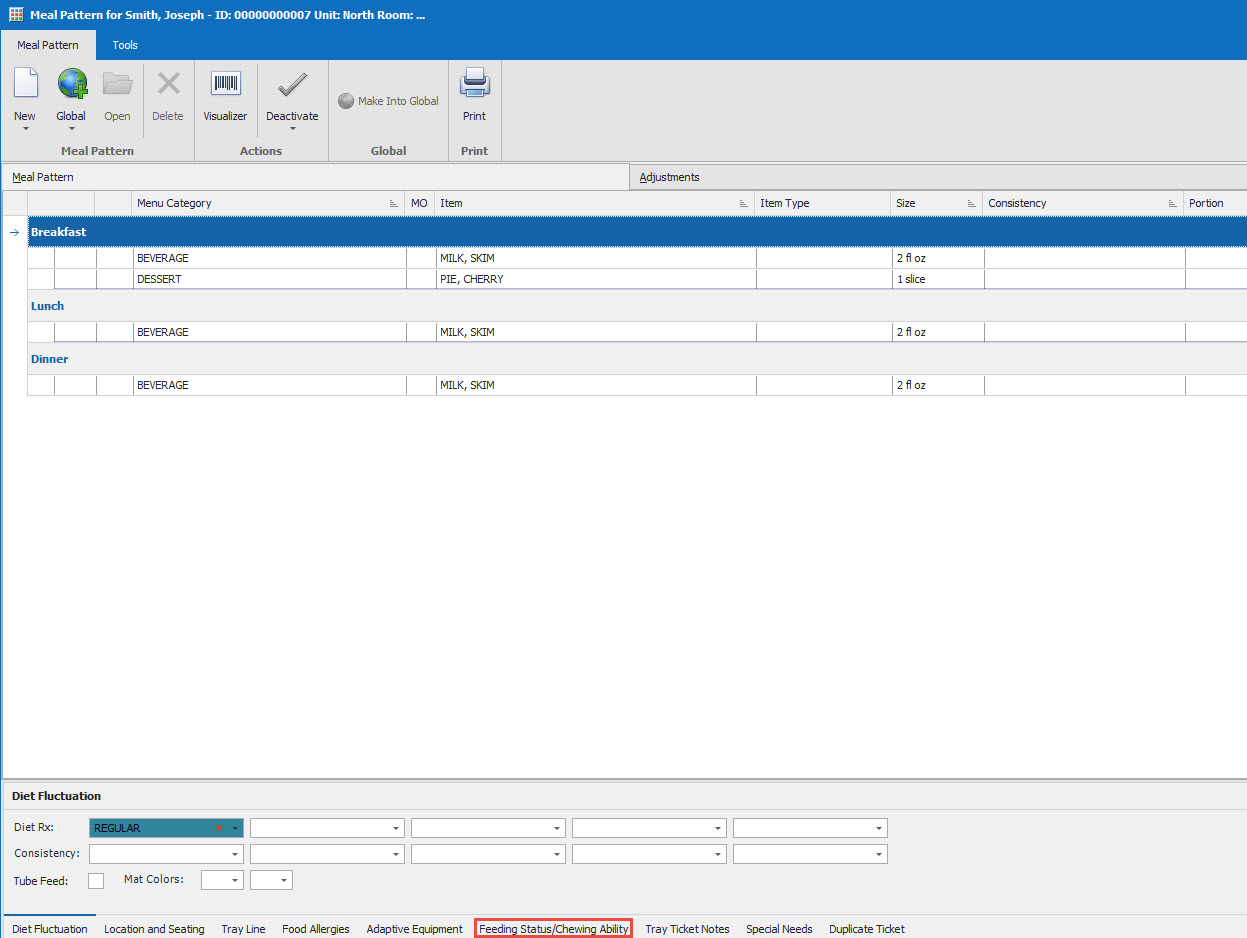
**This piece is optional but you can select verbiage from the MDS, or the PRI, or free text it in the Facility box. Only one Feeding status type. You can choose which feeding status to be shown on the tickets in the Facility Settings.
  • |
  • October 23, 2019

Entering the Diet Order

Entering the Diet Order

1.
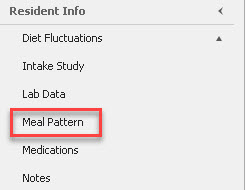
From the Resident Data Grid, highlight the resident you wish to enter a diet order for. On the left side of the screen under Resident Info, click Meal Pattern
*The Resident Add/Mod Screen (Resident Detail tab) is not the ideal place to enter in the diet order.
2.
At the bottom left of the screen you will see the “Diet Fluctuation” tab.
Use the drop down arrows, or click on the empty boxes, to search the list of Diet Types and Consistencies. Click to select.

**This information will automatically populate in the Resident Add/Mod Screen under the Resident Detail section of the Primary Resident Information form.
When you return to the resident listing, you should see the diet you just entered to the right of the resident’s name.
  • |
  • October 23, 2019

Resident Listing

Resident Listing

1.
Once you sign in to Dietech, the resident listing (Resident Data Grid) should be your home screen. If the resident listing does not appear, click on the Dietech tab at the top of the screen then select Residents, or at the bottom.
2.
You can click on the category headings at the top of the Resident Data Grid (Unit or Floor, Room, Bed, etc.) to put your listing in the order you’d like.
  • |
  • October 23, 2019

Attendance – Tray Line Override

Attendance - Tray Line Override

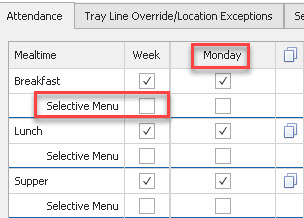
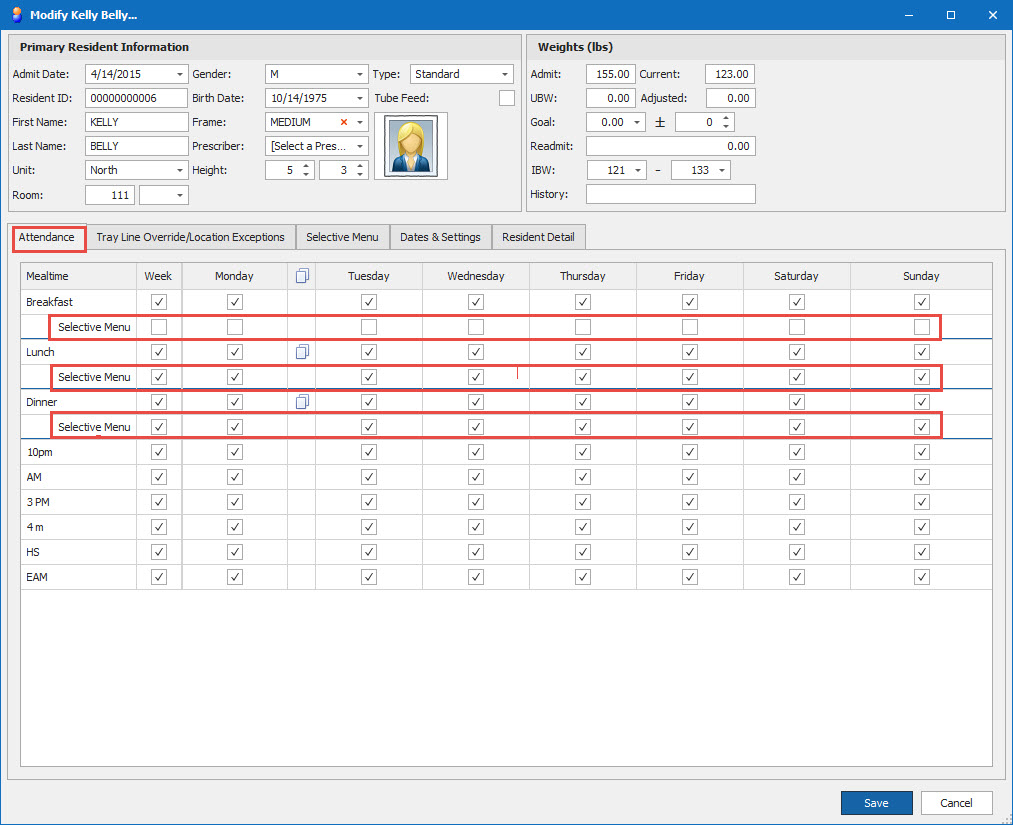
Attendance will default to normal for each meal & nourishment time. If you would like to change this to a selective menu click on the box next to selective menu for each meal the resident will be selective. The first column labeled Week will make the resident selective for all 7 days, or you can choose what days you want the resident to have a selective menu. All three meals do not have to be the same.
1.
To make a resident not present for a meal or nourishment time uncheck the meal or nourishment time. The first column labeled Week will make the resident not present for that meal/nourishment time for all 7 days, or you can choose what days you want the resident to not be present. All meals/nourishment times do not have to be the same.
Note: You can click on the Override Attendance box if you want the resident’s attendance to follow a different pattern for each day of the week.
  • |
  • October 23, 2019

Entering New Resident

Entering New Resident

1.
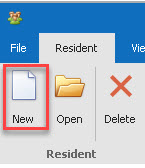
Start out on the Resident Tab of the Resident Data Grid and click on the New Page icon.
2.
The Primary Resident Information page should appear. 
Enter in resident info. You can use the calendar from the drop-down to enter in dates. If you do not have the Admit Date, select today’s date. Fill in the resident’s Name (all text will be in capital letters by default), Unit, Room Number, and Birth Date. If you do not know the Birth Date you may select today’s date. You can use the tab key to move between boxes. When completed, click on Save (lower right).
**If you do not want the Birthday Cake picture or message to print on the ticket when it is the resident’ birthday, right click over the date of birth and select “Hide Birthday Cake”.
3.
To modify a resident’s information (such as changing their room number, bed assignment, etc.), highlight their name on the Resident To modify a resident’s information (such as changing their room number, bed assignment, etc.), highlight their name on the Resident Data Grid and either double click or click on the open icon on the resident’s name and their profile will open.
  • |
  • October 23, 2019

To set up Resident Listing in Facility Settings

To set up Resident Listing in Facility Settings

1.
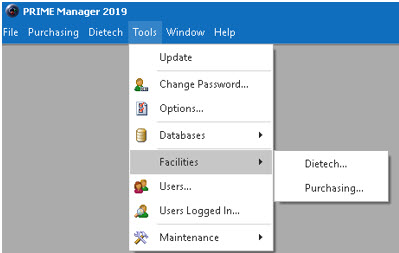
Click on the Tools button at the very top of the screen. All forms must be closed out (you will get a message saying this if you have a form open; the Resident Listing, for example).
2.
Click on Facilities from the drop down and then Dietech.
Double Click on your facility to highlight and open it.
3.
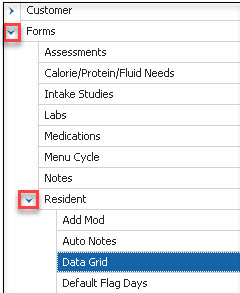
Click on the arrow next to Forms.
Then Click on the arrow next to Resident
Then click on Data Grid
Select the items you would like to see in your Resident 
Data Grid. You can change the default from Name to Room/Bed/Unit if you prefer.
Once you are done, click Save and X out of the “Dietech 
Facilities…” box.
  • |
  • October 23, 2019

Making a resident a Selective Menu

Making a Resident a Selective Menu

Making a resident a selective menu (ability to choose their meals, if meal selection is not entered the resident will follow the normal path of the menu).

1.
Go to the Resident Data Screen. Select the resident. Click on Open.
2.
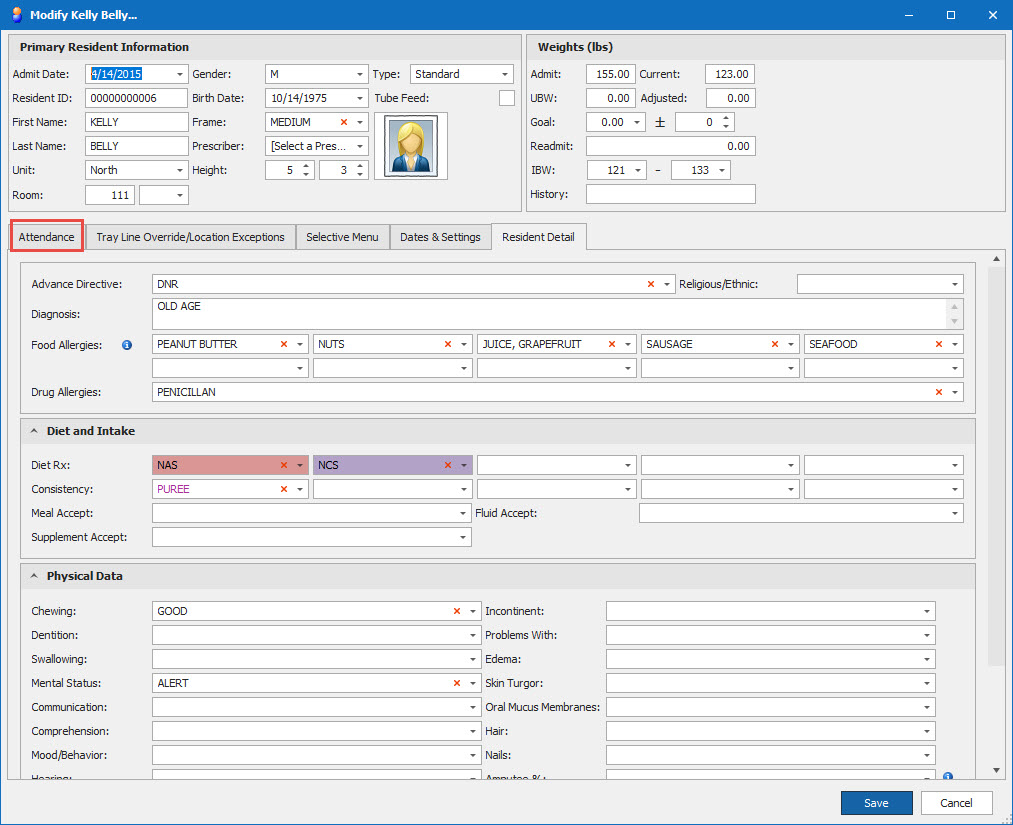
Click on the Attendance button. 
3.
 Find Selective Menu for each meal. If you only want the resident to be selective menu on certain days/meals only check the boxes for those times. If you select the box under Week it will make the resident a Selective Menu for all seven days. Once you have meal/day entered click Save.
  • |
  • October 23, 2019

Password Reset

Reset Password

1.
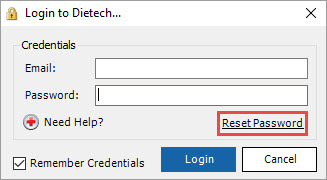
Open Dietech and Click on Reset Password.
2.
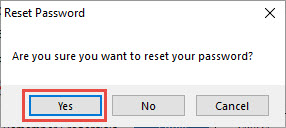
Click on Yes.
3.
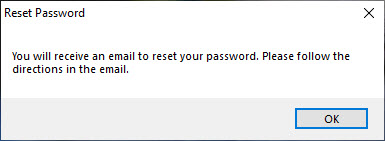
Click on Yes.
4.
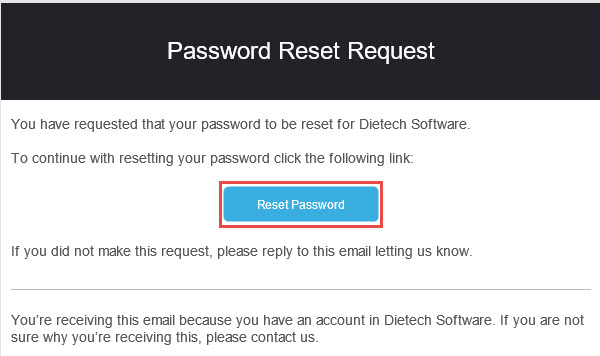
In your email find the message from Dietech. Click on Reset Password.
5.
Enter your New Password and Click on the > Button.
  • |
  • October 17, 2019
1 3 4 5